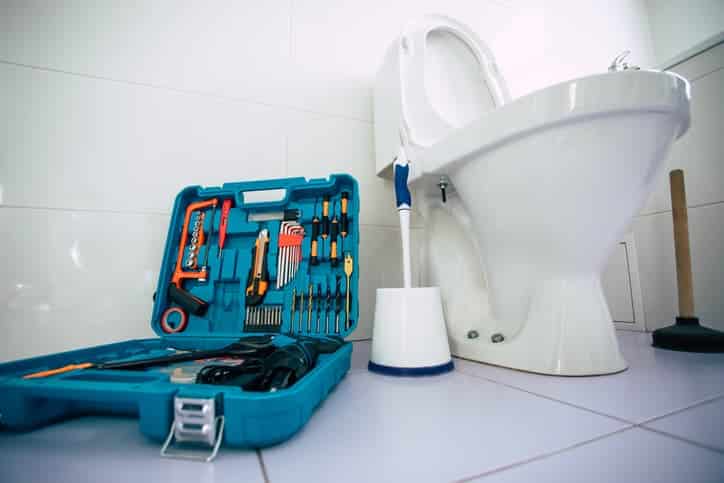
A leaking toilet flapper can be annoying and cost you extra money for excess water usage. Luckily, a running toilet flapper can be easily replaced and fixed. After determining that your toilet is leaking from a flush valve, you’ll need to know how to replace your toilet’s flapper properly. This can seem overwhelming at first, but with our help you’ll be able to effectively fix your toilet on your own. Follow along for an easy walkthrough on how to fix your leaky toilet, and if you’re looking for assistance with your plumbing in Las Vegas, don’t hesitate to contact Larkin Plumbing!
1. Locate Your Toilet Flapper
Not everyone is a natural-born plumber, but that’s ok, we are here to help. Especially if this is your first time repairing a toilet, knowing what you’re looking for will be the first step to successfully fixing a leaking toilet flapper valve. Start by removing the top of the toilet tank and looking around.
You will see a roughly flat rubber or plastic piece that should be sitting at the bottom of the toilet tank, and this is your toilet flapper that covers the toilet flapper valve. The flapper is connected to a chain that will lift the valve and empty water into the toilet bowl when the toilet is flushed.
2. How To Tell if Your Toilet Flapper is Leaking
An easy test to determine if your flapper valve needs to be repaired is by placing a few drops of food coloring in your toilet tank. Do not flush; wait to see if colored water appears in the toilet bowl. If the dyed water makes its way into the toilet bowl, your flapper or flapper valve needs to be replaced or maintained.
3. Check and Clean Your Toilet Flapper
Sometimes, a toilet leaking from the flush valve could mean that your current valve is dirty rather than broken. Whereas some flappers do get worn and need replacing over time, your flapper may still be functional and just in need of a cleaning. After wiping the buildup or residue off of the flapper, test to see if the leak still occurs.
4. Buy the Correct Toilet Flapper
For most toilets, a universal toilet flapper is available for purchase. However, be informed that some toilet manufacturers will make and sell a specific flapper replacement needed to repair your toilet. The best way to ensure you are buying the correct replacement is to take a picture of the old flapper or bring it to the hardware store.
5. Turn Off the Water and Empty the Tank
The first actionable step to replacing your leaky toilet flapper will be to locate and turn off the water supply. Locate the water supply valve for the toilet and turn the valve off, and remember to be gentle as toilet valves are notorious for breaking with too much force.
Once the water supply is off to the toilet, flush the toilet to empty the water from the toilet tank.
6. Replace the Flapper
Once the water is drained from the toilet tank, it’s time to fix that leaky flapper valve. Disconnect the chain attached to your old flapper. Please note how the old flapper attaches to the handles that secure it.
Once the old flapper is removed, attach the new flapper and attach the chain to the toilet handle lever and to the new flapper. Like that, your toilet flapper is swapped out for a new and efficient one.
7. Check the Flapper and Flapper Chain
Check the length of your chain before and after you attach it from the toilet handle lever to the flapper. Be careful to measure the chain length as it is attached to the toilet handle lever while at rest. If a chain is too short, it will not seal and will waste water. If a chain is the right length, it will have enough pull to lift the flapper and allow the toilet to flush.
8. Adjust Your Toilet’s Float
Toilet floats are a built-in part of toilets that ensure your toilet does not overflow while the tank is refilling. These days many toilets do not have floats. However, if you have one, it’s essential to know what it does and to set it correctly. Your toilet’s float should be placed one to two inches below your toilet’s fill valve and overflow tube.
9. Turn the Water Valve On and Test Your New Flapper
Now that everything has been repaired and replaced, turn the water supply to your toilet back on. It would be best to flush your toilet to allow the tank to fill once again. Once your toilet tank is filled with water, check to ensure that the flapper is opening and closing properly between flushes. Congratulations, you have successfully replaced your toilet’s leaking flapper. Once you’ve tested your toilet and determined that the flapper and flapper valve are working correctly, it’s time to sit back and relax. While a relatively easy repair, fixing a worn or broken toilet flapper will save you a lot of money on saved water. You can rest easy knowing that your toilet is functioning precisely as it should.