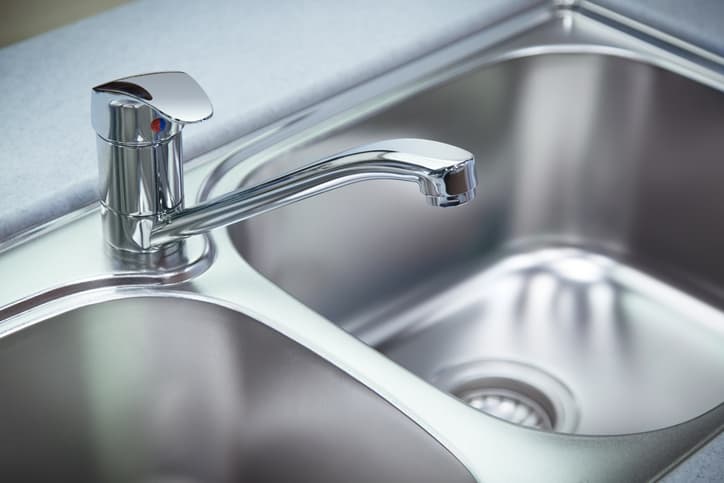
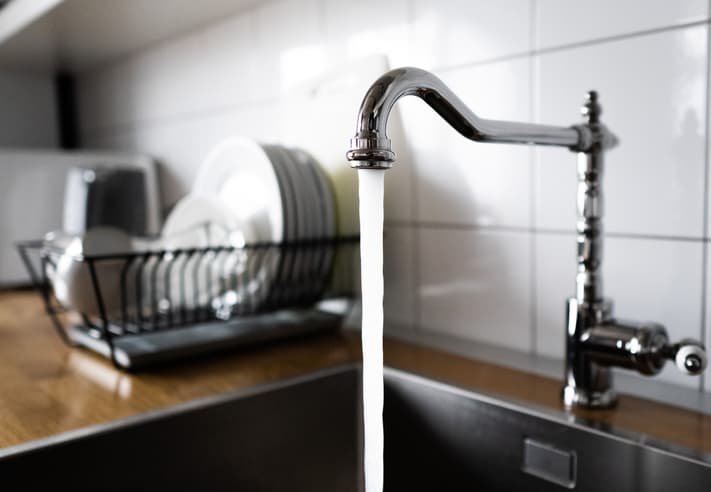
When your kitchen faucet is leaking or you want to update the appearance of your sink, learning how to remove a kitchen faucet is not too difficult. However, the task can become more complex and time-consuming depending on how old the existing faucet is, whether it has a sprayer, or if you need to update plumbing lines.
To determine whether you want to tackle this type of plumbing repair yourself or have your local plumber do it, review our step-by-step guide on how to remove a kitchen sink faucet.
From plumbing emergencies to clogged drains, Larkin Plumbing can fix your plumbing problems day or night. Schedule plumbing services today.
Common Kitchen Faucet Problems
Common water faucet problems include:
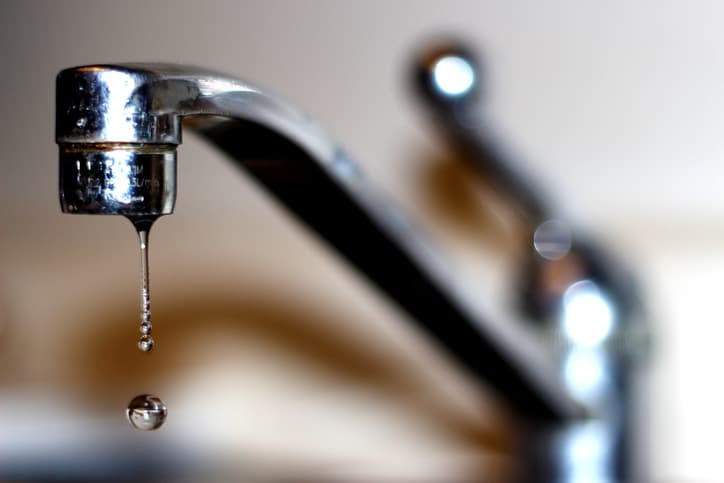
- Leaking Faucet: Leaks from the faucet could indicate the o-rings and washers inside the faucet need replacing.
- Leaking Handle: When water leaks from the handle, the stem cartridge or o-rings could be the cause.
- Leaking Sprayer: If the sprayer nozzle is leaking, it could be the sprayer head or a rubber washer that connects the sprayer to the water supply hose.
- Broken Sprayer: When a sprayer doesn’t work or won’t shut off, the sprayer nozzle will need replacing.
- Sprayer Won’t Retract: The hose could have gotten caught on something under the kitchen sink. Look under the cabinet, and if needed, retract the hose by pulling on it from underneath the sink.
- Pull-Down Faucet Won’t Retract: Pull-down faucets have a weight on the end of the hose underneath the sink to help it retract. Look in the sink cabinet to see if the weight fell off. If it did, it is easy to reattach to the hose. Another common issue is the hose becoming tangled on something under the sink.
- Low Water Pressure: One of the most common causes of a reduction in water pressure is when mineral deposits clog the aerator. Unscrew the aerator from the faucet and clean it to see if this resolves the problem.
- Clogged Diverter Valve: Some faucets have a diverter valve that directs the water out of the faucet or the sprayer. If this becomes clogged, you will notice a drop in water pressure from the main faucet and very little water coming out of the sprayer.
A Step-By-Step Guide to Removing a Kitchen Faucet

How to remove an old kitchen faucet is not difficult. You can follow these simple steps:
1. Gather Your Supplies
You will need a bucket, screwdriver, adjustable wrench, penetrating oil, channel locks, plastic putty knife, and towels.
2. Prep the Work Area
It’s helpful to remove anything you have stored in the cabinet so you have easy access to the entire space under the sink. Next, place a bucket under the sink to catch any water. You can also lay down a towel inside the cabinet to soak up any drips that miss the bucket.
3. Shut Off the Water
You want to shut off the hot and cold water valves underneath the sink. If you have a dishwasher connected to the hot water line, shut the water off to the dishwasher as well.
If there are no shut-off valves under the sink, you will need to shut off the water at the water main, where it comes into your house.
4. Disconnect the Water Lines
Using an adjustable wrench or channel locks, disconnect the hot and cold water supply lines that run to the faucet. Disconnect the sprayer hose where it connects to the water supply lines underneath the sink.
5. Remove the Mounting Nut
Depending on the faucet design, a mounting nut or screws can secure the faucet to the sink. You will need to remove the mounting nut or screws. Using channel locks or a basin wrench, if you have one, loosen the mounting nut by turning it counter-clockwise.
If it will not budge, spray it with some penetrating oil and allow the oil to sit for about fifteen minutes. If there are screws, simply loosen them to unscrew the nut to remove it.
If you have separate hot and cold water handles and a sprayer, verify you have removed the mounting nuts from underneath these as well.
6. Remove the Faucet
Carefully pull up on the faucet to remove it from the sink. If it sticks, use a plastic putty knife to loosen it from the sink. Next, pull the faucet water lines and sprayer hose up through the openings in the sink. Once the faucet has been removed, thoroughly clean the area before installing your new faucet.
Benefits of Hiring a Local Plumber
There are several benefits to hiring a local plumber when removing and replacing a kitchen faucet.
- Plumbers already have access to all the tools needed to remove the kitchen faucet.
- Plumbers can quickly remove and replace the faucet since they are experienced in this plumbing repair.
- Plumbers can diagnose the problem with your faucet to determine whether it needs replacing or if some internal parts need to be replaced.
- Plumbers usually offer some type of guarantee or warranty on their work.
- Plumbers provide access to a wide range of replacement faucets.
- Plumbers are less likely to cause any damage to your kitchen sink when removing and replacing the faucet.
Related: How to Fix a Leaky Bathtub Faucet
Expert Kitchen Faucet Services
When you follow our step-by-step instructions, learning to remove a kitchen faucet may not seem too difficult. However, when you lack the skills necessary to do the work, this simple project can quickly become a major headache.
You may encounter other issues and problems as you start to remove the faucet, like not being able to remove the mounting nut. Therefore, when you need your kitchen faucet repaired or removed and replaced, it is much better to rely on the most trusted plumber in Las Vegas, Larkin Plumbing.
We also have a wide range of kitchen faucets for you to choose from. If you decide to go the DIY route, visit our plumbing supply store to find your new kitchen faucet.
When you need help removing and replacing a kitchen faucet, contact the plumbing experts at Larkin Plumbing today!