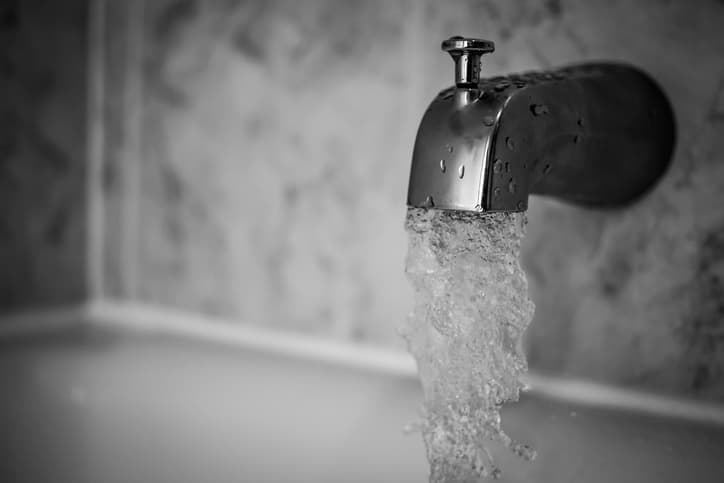
We’ve all had that horror movie moment. Not running into the abandoned cabin looking for help, but the leaky bathtub faucet that seems to cry out throughout the house, fix me!
When a faucet leaks, it needs to be fixed; however, many people don’t know how to fix a leaky bathtub faucet. Don’t worry, we won’t leave you to face the horrors of the repair alone. In fact, it’s easier than you might think and often takes only a few hours to complete.
Why is my bathtub faucet leaking?
Today’s bathtubs can have a wide array of faucets. The designs and aesthetics are as varied as the types of people who use them. However, most use the same basic functions to operate. Due to this fact, most will have common causes for why they are leaking and how to fix them. Some of the more common reasons that a tub faucet is leaking are:
- The piping to the bathroom tub faucet is damaged and/or leaking.
- Due to the age of the fixtures, rust or corrosion is preventing the faucets from completely shutting off.
- The washer is cracked or worn. The washer can eventually fail to function properly after a time, creating a leak in its seal.
- There is an issue with the stem or cartridge. These raise and lower when the faucet is turned. If they malfunction, it can inhibit the flow of water.
There are a few other factors that might cause a leak to occur, but they would most likely be out of the average individual’s skill set. For simpler repairs, let’s delve into how to fix a leaky bathtub faucet.
Turn Off the Water Supply
If you’ve ever done work on kitchen faucets or other areas of your house that have a water supply, you’ll know the first thing you need to do is shut off the water. Because you are working on the entire bathtub unit, you’ll most likely need to cut off the flow to the entire bathroom. If you have wall access behind the bathtub, you can most likely find a water supply shut off there.
If you can’t find one in the bathroom, you next want to try the basement or crawl space of the house. Some older homes don’t have as complex systems as modern homes and may require a bit of searching to locate the proper valve. Start at the water main and work your way closer to the bathroom. There is a possibility these valves will require a wrench to turn.
Drain Remaining Water
Once the water is off, you now want to drain the remaining water in the lines of your bathroom. You can do this by turning the faucets to the on position in the leaking bathtub. Allow the excess to empty, and cover the drain plug before you begin working.
Remove the Faucet Handles
It’s now time to take a look at the hardware behind the handles. The type of handle you have will determine how you disassemble it. Some have small bolts that try to be hidden, while others have bolts behind the hot and cold symbols. Once the bolts are out, you should be able to detach the handle.
Keep in mind that these might be slightly difficult to remove. Try not to thread the bolt by using too much force. While you are removing the handles, check for signs of damage or age; things like mold or rust are signs of an issue.
Examine the Parts
Once you’ve checked the handles for issues, you want to look under them for signs of a problem. The stem assembly has several components that could be creating the issue if they are failing to perform. It’s best to think smaller first. This means checking the washers before other areas. If they appear to be cracked, flat, or weak, there is a chance they are causing the problem.
If the washers appear to be in proper working order, you’ll want to look at other parts of the assembly. The seat will weaken over time and occasionally will not form a proper seal when turned. Try tightening it to see if it is simply loose.
Replace the Stem
Sadly, the simple act of replacing the washer or tightening the stem might not correct your bathtub faucet issues. When this is the case, you’ll want to replace the cartridge assembly. Luckily, you already have access to the old assembly, and you can take it to the plumbing supply store to help you find its replacement.
Once you have it, installing it takes a few simple steps:
- Prepare the area by cleaning away any rust, caulk, or wax.
- Use plumber’s tape around the threads of the stem if the instructions on the cartridge encourage you to do so.
- Screw and tighten the new part into place.
- Replace the handles and return the faucet to its original state.
Related: How to fix a Slow Draining Drain
Check the New Stem
It’s now time to check the new stem by turning the water on. Make sure you unblock the drain before opening the water valve. If you don’t initially see water, turn the handles a few times to allow water to flow through the system. Make sure the water is completely shutting off after you turn the handles to the off position.
If issues continue, call a plumber
There is a chance that this didn’t fix your leaking bathtub faucet. At this point, you probably want to seek out a professional plumber. Your time and money would be better spent on local help. Don’t hesitate to schedule service when your bathtub faucet is leaking.
Related: How to Replace Your Shower Faucet

