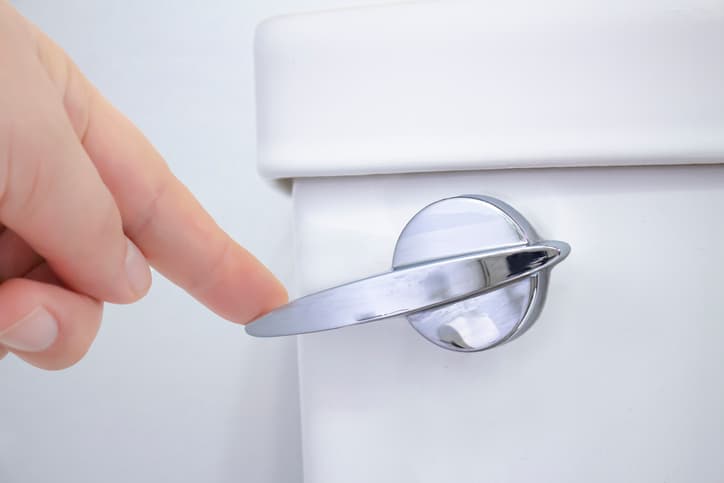
The last thing anyone wants is a broken toilet handle that won’t send everything on its way. That can quickly turn a typical morning into a trip to the hardware store. Of course, the need to replace a toilet handle doesn’t always stem from a malfunction. The handle could just be rusted or moldy, but still work fine. Maybe it’s simply time to upgrade the finishings in the bathroom, and you want the handle to match.
Whether you’ve got a broken toilet handle or one you just want to replace, the steps are relatively the same and can be a simple do-it-yourself project in most situations. Before getting started, there are a few questions you’ll want to have answered to make the process simpler.
Can you replace just the handle on the toilet?
The quick answer to this is likely no. In almost every circumstance, the handle is solidly connected to a swing arm. The entire assembly of the handle and swing arm is known as a flush lever or tank trip lever.
Is it easy to replace a toilet handle?
This time, the short answer is yes. The need to replace a toilet handle is quick and easy, especially compared to other repair jobs, because the action of the handle is basic. Similar to replacing a toilet flapper, this project requires only a few tools and materials.
How to Replace a Toilet Handle
As previously mentioned, there could be several reasons why you need to get a toilet handle replacement. Once you’ve identified that you need to replace a toilet handle rather than repair one, the steps are straightforward.
Remove Toilet Lid
To begin any repair, you’ve got to be able to see and understand the parts you’ll be replacing. Move any objects – tissue boxes, spare toilet paper rolls, etc. – from the toilet lid. Gently lift the lid from the water reservoir and set it somewhere out of the way.
Document Model Numbers
Once you’re able to see everything, it’s important to list specific parts you’ll need. These would be model numbers and name brands for the toilet, which are often printed inside the tank. Though most toilet handle replacements have universal parts, a few might require a special assembly.
Disconnect the Lift Chain
The swing arm is connected to the toilet flapper by a chain. This chain needs to be unhooked so the old handle can be removed from the toilet. Be sure to take note of what hole the chain is connected to on the swing arm.
Unscrew the Mounting Nut
Once the chain is off, the next step in freeing the handle is to remove the mounting nut. Some nuts will be loose enough to twist by hand, while some tanks might require a wrench. Be aware that some nuts need to be turned clockwise to loosen because they are reverse-threaded.
Remove the Broken Handle
After the chain and nut are off, you should be able to pull the toilet handle through the hole in the tank. Now that it is free, you can take it with you to purchase your replacement. Having the old part with you when shopping for new parts can be useful for comparison.
Purchase the New Handle
Now that you have the old handle removed, as well as the make and model information of the toilet, you can buy a new handle. Search for a style you like that also adheres to the requirements you need for size, angle, and placement in the tank. It’s important to note that a toilet handle replacement will often be called a toilet trip lever.
Check the New Handle
Before you install the new handle, it’s a smart move to make sure everything appears to function properly and that there are no cracked or broken parts. This can help limit issues later, especially if you did happen to buy the wrong product.
Clean the Area
It’s always good to work on a clean surface space. Use a soapy sponge to clean the area where the handle will be attached. This will help to secure a strong seal and prevent further build-up of mold or mildew.
Related: How to Fix a Clogged Toilet
Attach the Handle
Once you’ve determined that the handle appears to function properly, it’s time to secure the new part. Follow the instructions on the toilet handle packaging and use the O-ring, plumbers tape, and nut to fasten the handle to the porcelain reservoir. Secure the chain to the appropriate height on the swing arm.
Test the New Handle
Before nature calls, be sure to test the handle. Adjust the chain height if necessary and make sure that the water is filling the reservoir. Watch for a complete cycle before placing the tank lid back in place.
Benefits of Hiring a Local Plumber
If that sounded like a lot of work, you might consider contacting a local plumber. Even if you know how to fix a broken toilet handle, a professional plumber will be able to check for more extensive issues you might have. They will likely do the job in half the time. Also, they’ll be able to handle any unexpected situations and won’t need to research what to do next. A local plumber will offer professional solutions and peace of mind.
The Bottom Line
If a toilet handle needs to be replaced, whether it’s broken or outdated, many individuals will be able to do so themselves. An adjustable wrench, plumber’s tape, and replacement parts, along with about 30 minutes to an hour of your day, should lead to a new handle for your toilet. However, there’s no issue too small to contact a local plumber if you’d rather let the pros handle it. Contact Larkin today for all your plumbing needs.

